After finally getting a 5.1 home theater setup, I decided to put some time and effort into making some acoustic treatment. As you’ll see at the cost breakdown at the end, the monetary investment is very reasonable compared to purchasing professional products.
Design
Essentially, these acoustic panels are simply big picture frames that hold in pieces of wall insulation. Sounds simple, but as I found out there are a bewildering number of ways that you can connect 4 pieces of wood together to create a rectangular frame. I decided not to worry about wall-mounting hardware for now, because they will be used as both wall panels and movable baffles for recording purposes. The ones I do mount on the walls may very well end up sitting on shelves anyways.
Because this was really my first experience working with wood, I decided not to worry about any sort of fancy joinery (had to look up that word) and just use wood screws to connect plywood boards together in a butt joint (had to look that up too). The dimensions of the insulation (15.25′′ x 47′′ x 3′′) dictated the dimensions of the wood cuts (15.25′′48′′x6′′). The extra inch is to account for the loss of inside length due to the joint. Each panel has two 3″ batts of insulation, thus the 6″ depth.
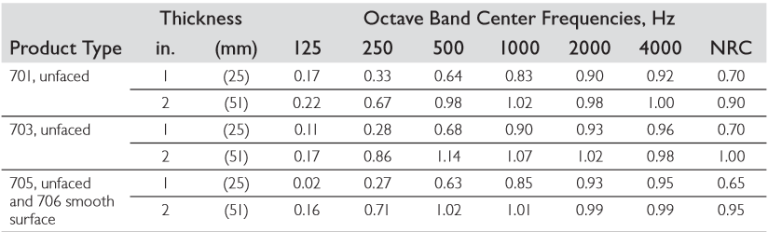
For cost purposes, I bought a 4′x8′ sheet of 19/32′′ plywood from Home Depot, and had them cut it to four 4′x2′ sheets so I could fit it in my car. For the wall insulation, I went with Roxul Safe ‘n’ Sound. The preferred insulation for this purpose, Owens Corning 703/705, is much more expensive and not available in my local area. As you can see from comparing 2′′ OC 703/705 and 3′′ Roxul, they are very similar in sound absorption properties (Roxul may be even better, but since we’re comparing different thicknesses that’s just speculation). More information about absorption coefficients can be found here.
Roxul:

Owens Corning:
Construction
The hardest part of this was measuring the wood for cutting. The guy at Home Depot said that, due to blade width, he would have to cut the 4 boards in such a way that 3 of them would be 2′, and one would be slightly less than 2′. That’s fine, except the end result was that all 4 of the boards were slightly less than 2′. This means that, after I cut each 24′′x48′′ board into four 6′′x48′′ boards, each one was slightly less than 6′′. This ended up not being a problem, because the insulation was pretty easy to compress.
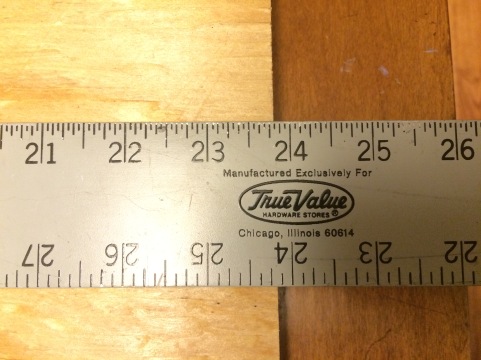
They say “measure twice, cut once” but because the four boards that the guy at Home Depot had cut for me didn’t seem to have any reasonably straight edges that I could reference my cutting lines from, it ended up being “measure 4 times, give up and settle for having slightly imperfect cuts”.
Luckily there was a T-square sitting around, which made the pencil lines slightly less inaccurate. The cuts ended up being somewhere around 5.8′′x48′′ and 5.8′′x15.25′′.

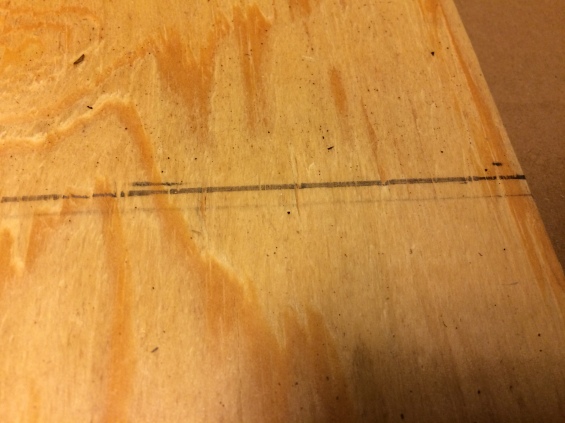
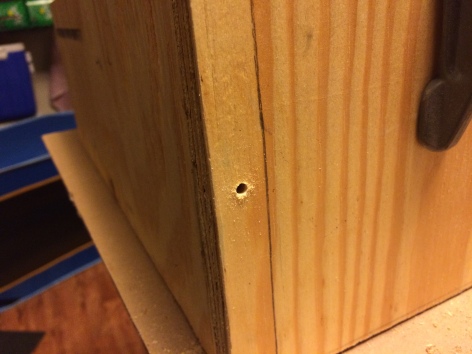
Most of the frames ended up being close enough, but a couple of the edges looked like this:
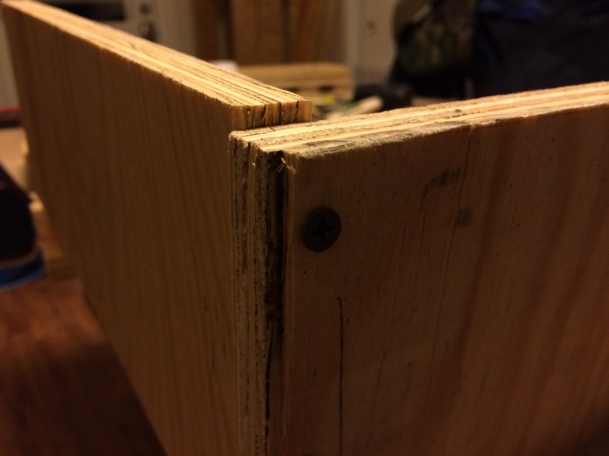
Securing the butt joint with 3 wood screws ended up feeling strong enough for my purposes. I just drilled a pilot hole through both pieces of wood, and then added some screws. Much easier than some other solutions I’ve seen, such as gluing, using miter joints, reinforcing with corner braces, etc. Probably not as secure, but these aren’t furniture.
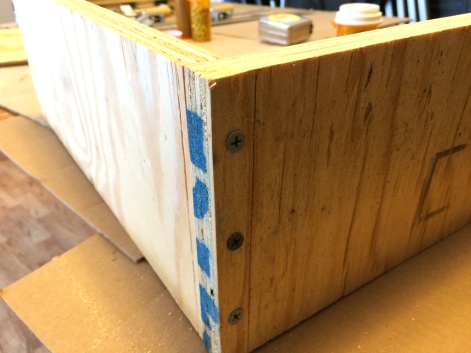
A few completed frames: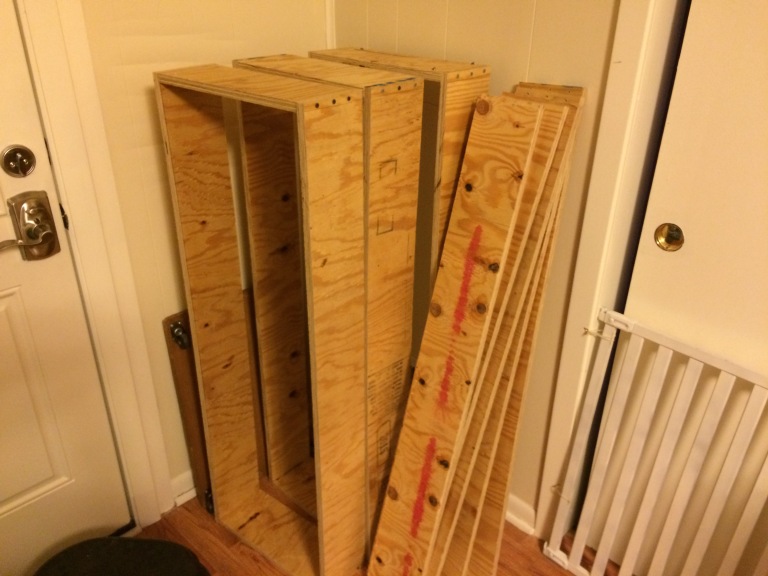
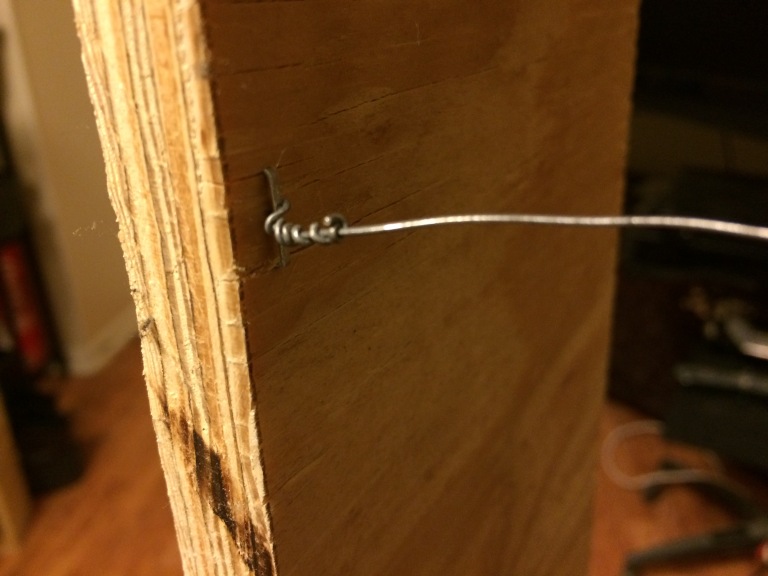
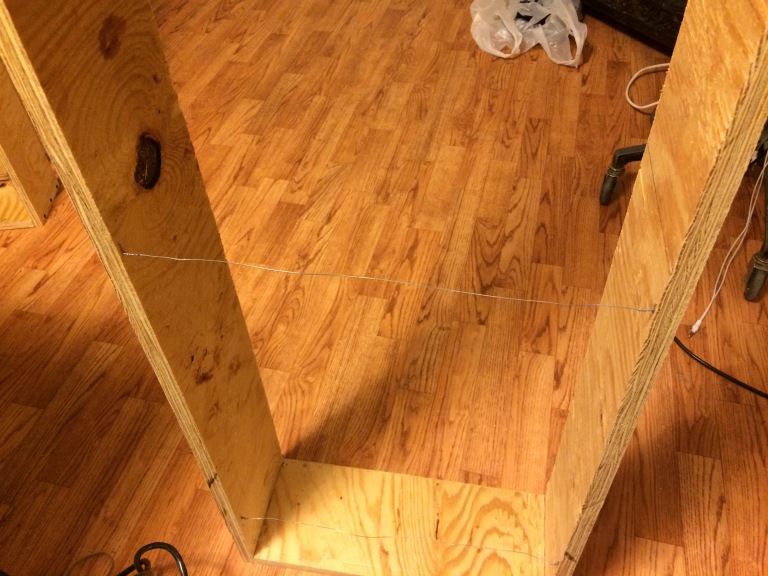
Other than actually putting the frame together, the main design consideration was how to hold the insulation in the frame. With conventional “rigid fiberglass” insulation like Owens Corning 703, the boards are sturdy enough to simply have the fabric covering hold them in. Because Safe n Sound is less rigid, I wanted some reinforcement, if only to prevent it from sagging and looking worse. I ended up achieving this through three lengths of picture hanging wire that run across the “front” face of the panels, and stapling them to the boards. Kind of crude, but it works.
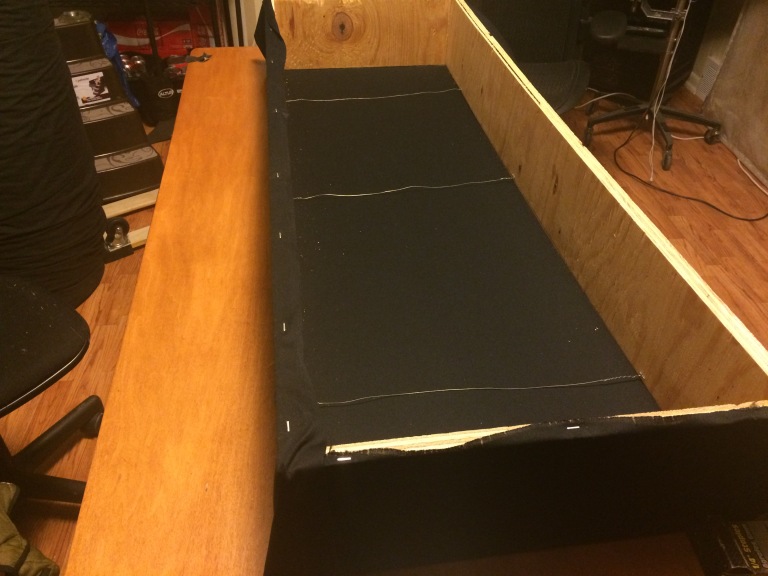
Now, the frame is ready for the fabric. Any fabric that is breathable works – that is, if you hold it in front of your face and blow into it, you can feel air coming out the other side. I ended up going with black “Sew Classics Jet Set” from Jo-Ann fabric, as it was about $3 per yard after a coupon. That’s a little more than burlap or muslin, other fabrics that are sometimes used, but this is much nicer to work with. It’s just stretchy enough to make the stapling job easy. I ended up needing about 8 yards for 6 panels.
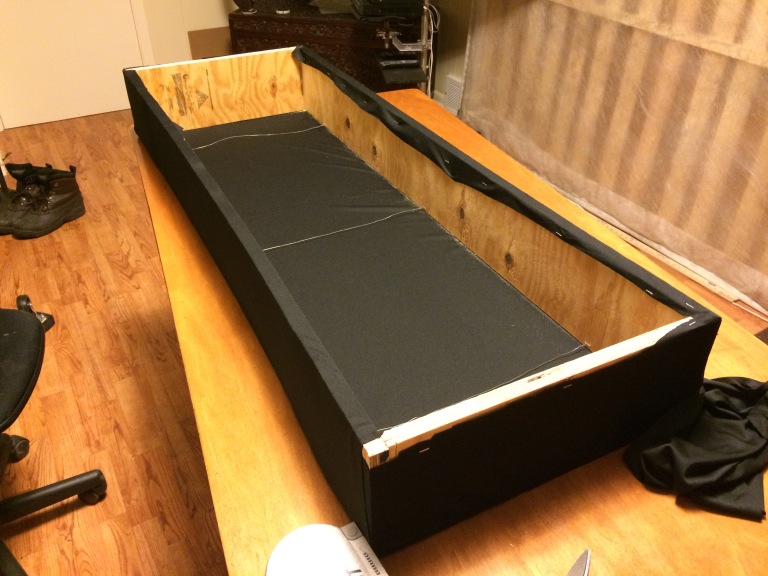
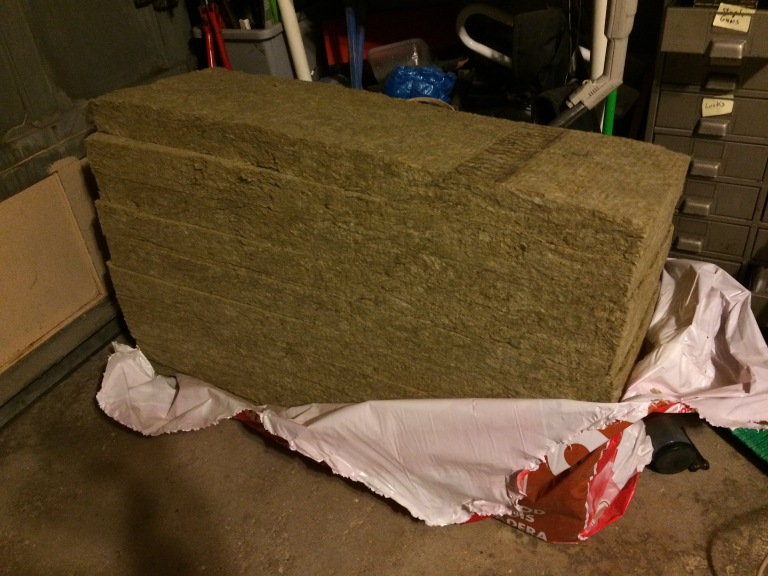
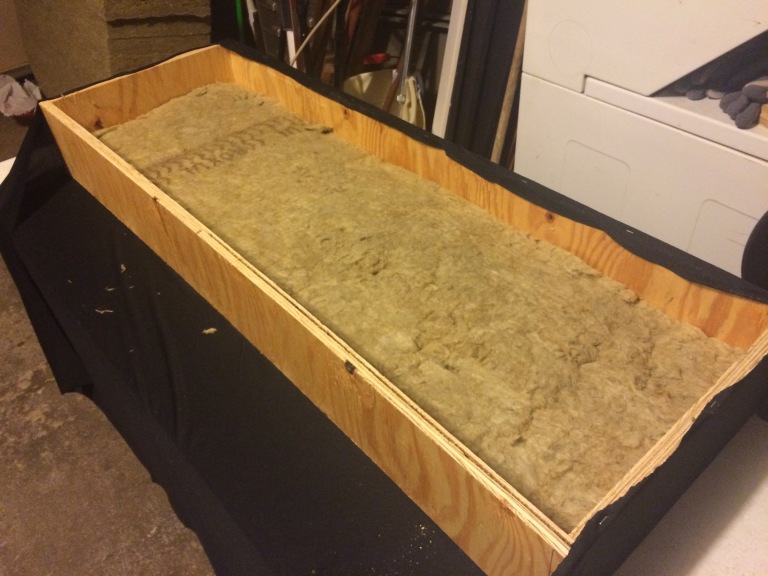
Now we are ready to put in the Safe n Sound insulation. Here is what the stuff looks like out of the packaging. It was actually pretty easy to work with – I had heard that it was crumbly and unwieldy, and that the more expensive rigid stuff was worth the expense. Sure, it wasn’t stiff as a board, but since the frame had just the right dimensions, I really had no trouble getting it in place.
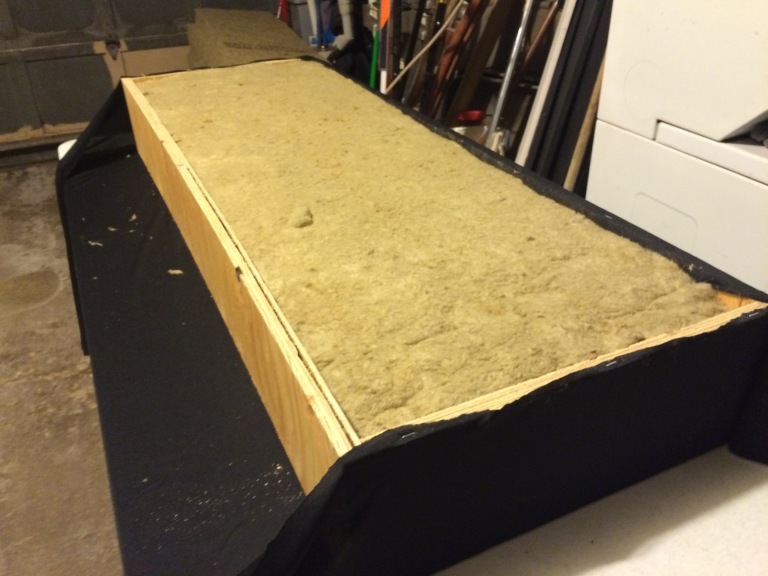
Pretty much a perfect fit within the frame. One layer, and then the second layer:
The stuff you see on the fabric below are little bits of insulation that flaked off. Easy enough to clean up.
In general, stapling the final panel of fabric was not quite as “pretty” as some people would probably like. I tried a couple different methods, including folding excess fabric under other edges, cutting slots instead of folding, etc. I decided that what worked the best was to use two separate sheets of fabric: one 30′′x60′′ sheet to cover the front and sides (see above), and one 16′′x48′′ sheet to cover only the back side. It used the least amount of fabric, but required the most visible staples. This didn’t bother me, because the only visible staples are the ones that are facing the wall.
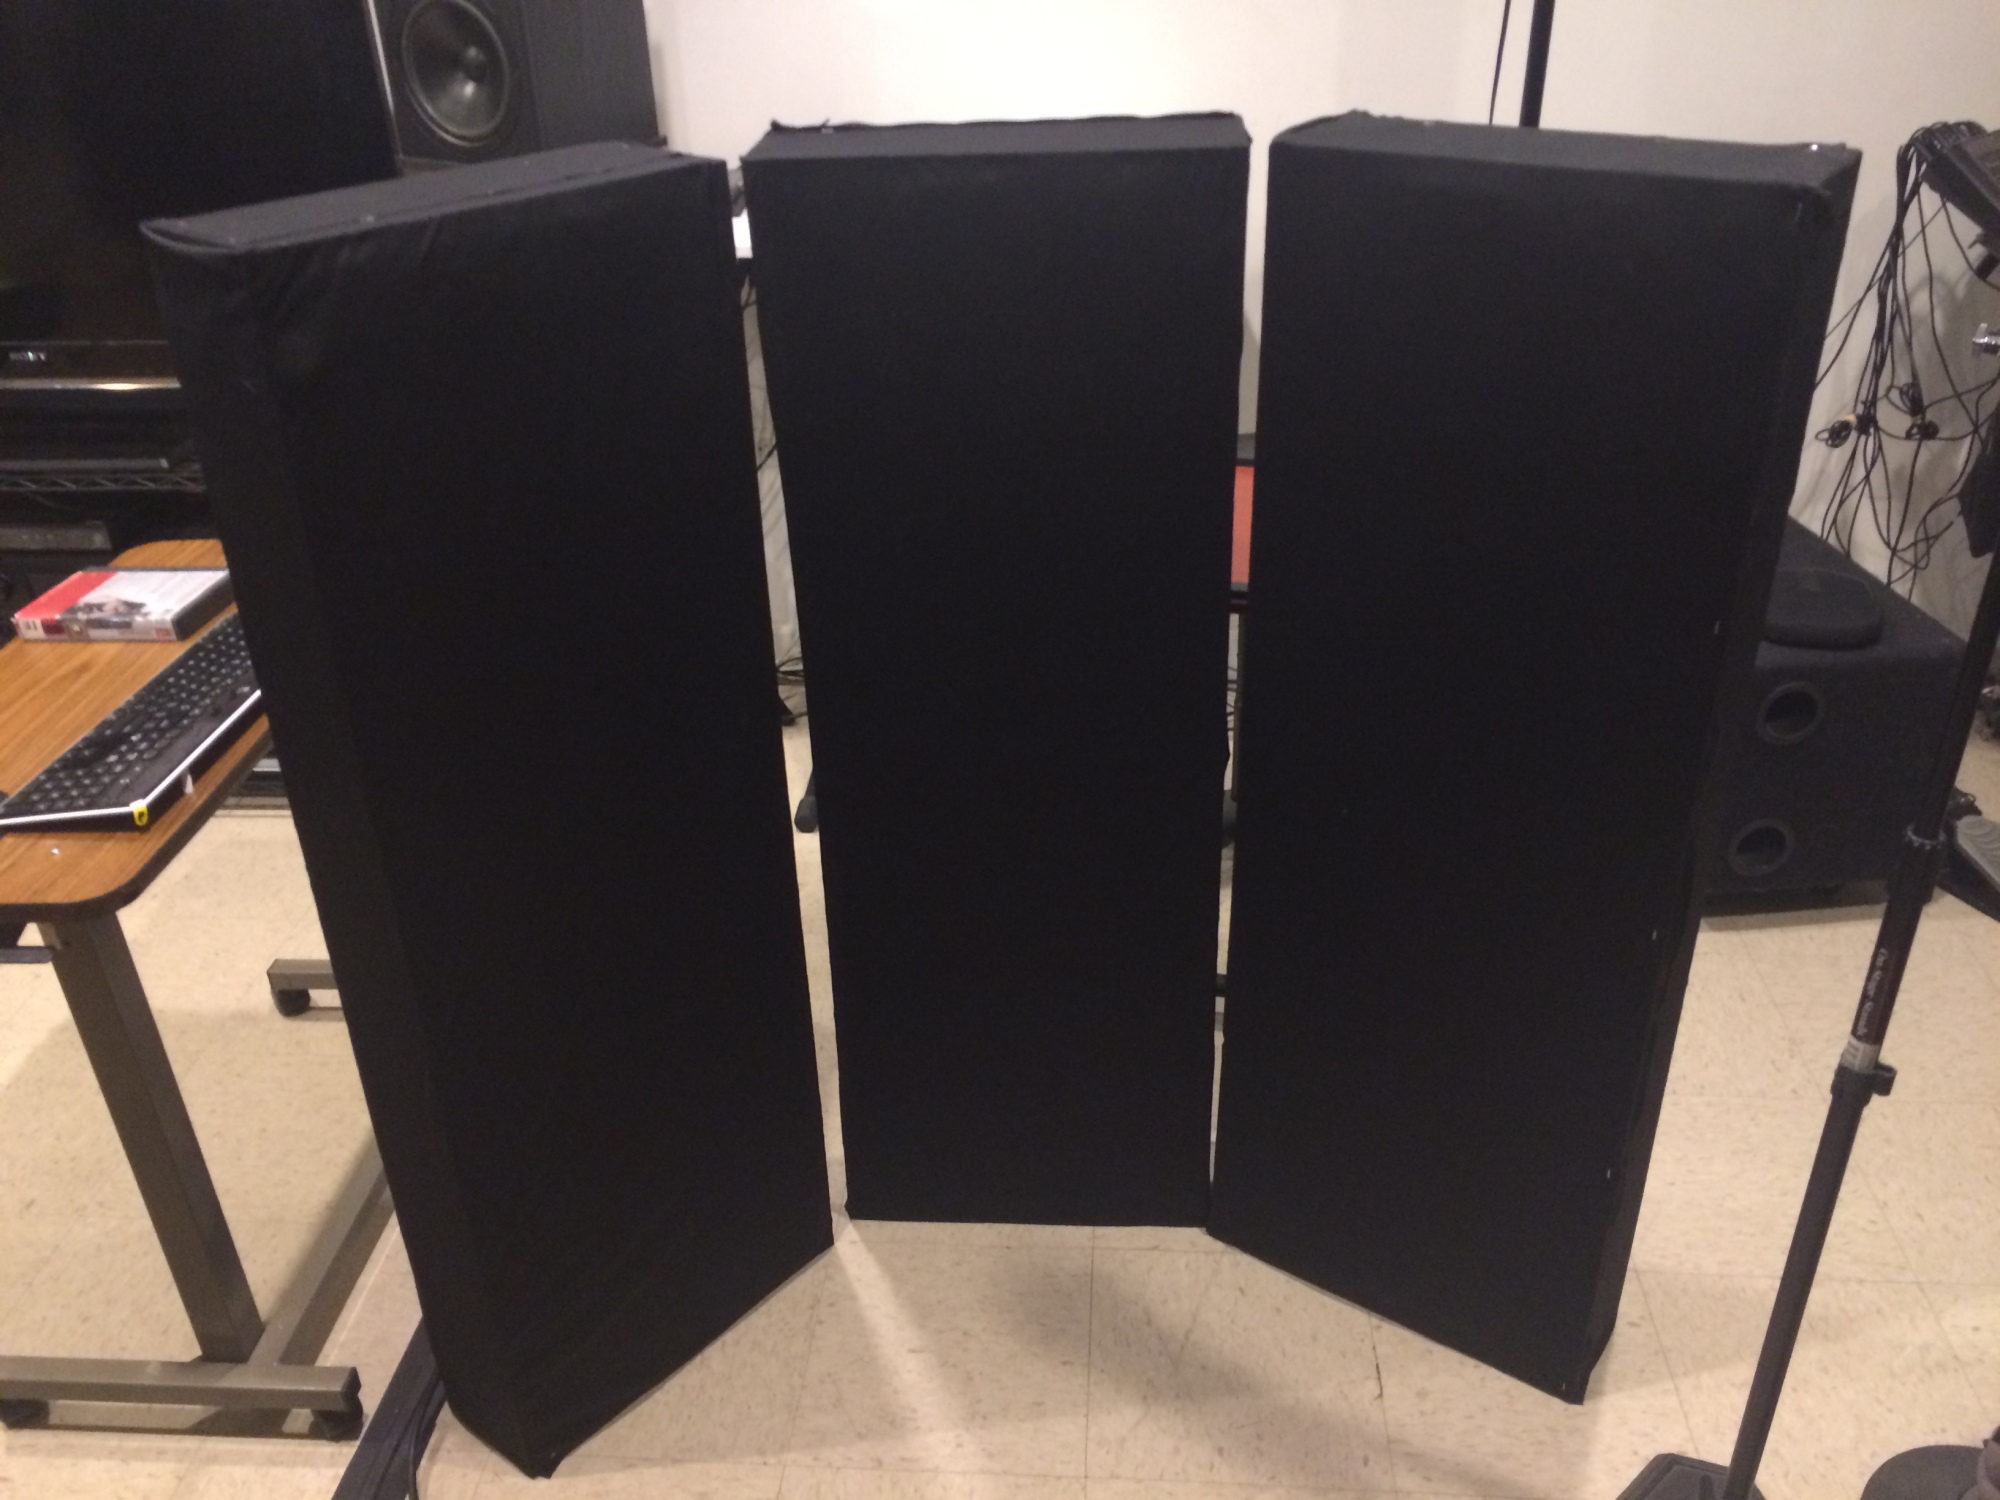
Finished product:

Cost breakdown (rounded)
4′ x 8′ sheet of plywood: $20
Package of Roxul Safe ‘n’ Sound: $50
8 yards of fabric: $30
Total: $100
That’s roughly $100 for six panels, or under $17 per panel in materials. Similar products from professional companies seem to be closer to the $50-$100 range, so the DIY method seems to be the way to go. Of course these won’t be quite as good as the professional stuff, but for non-professional settings like home theaters and home studios, they should be good enough.
Conclusions:
I think that this construction method worked pretty well, but there are ways I could have made the panels a little better. Mainly, I could have removed the inside section of each board – that is, instead of a 6′′x48′′ solid board, it would be a 1′′ rectangular frame whose outer dimensions are 6′′x48′′, with an opening of 4′′x46′′ in the center. By opening the sides up like that, an extra ~3.3 square feet of insulation would then be open to air per panel, making it lighter and more effective. Plus that would give me extra scrap wood for other projects, or for smaller 4′′ panels. The only question would be if that would make it any less sturdy. Other builds have achieved similar results by boring large holes into the sides.
One option was to go with Roxul AFB, which seems to be roughly the same specifications as Safe ‘n’ Sound, except it is slightly more dense (2.8 pounds per cubic foot rather than 2.5 pounds per cubic foot). The main difference is that Roxul AFB comes in 16″x48″ batts, whereas Safe ‘n’ Sound comes in 15.25″x47″ batts. I decided to go with the Safe n Sound, because the smaller dimensions would allow for a better fit without having either to shave off some insulation, or compress it into the frame.
I could also have gone with another version of Safe n Sound which is instead 23″x47″. That was slightly more expensive per square foot, and I decided I’d rather have narrower panels than wider ones.
